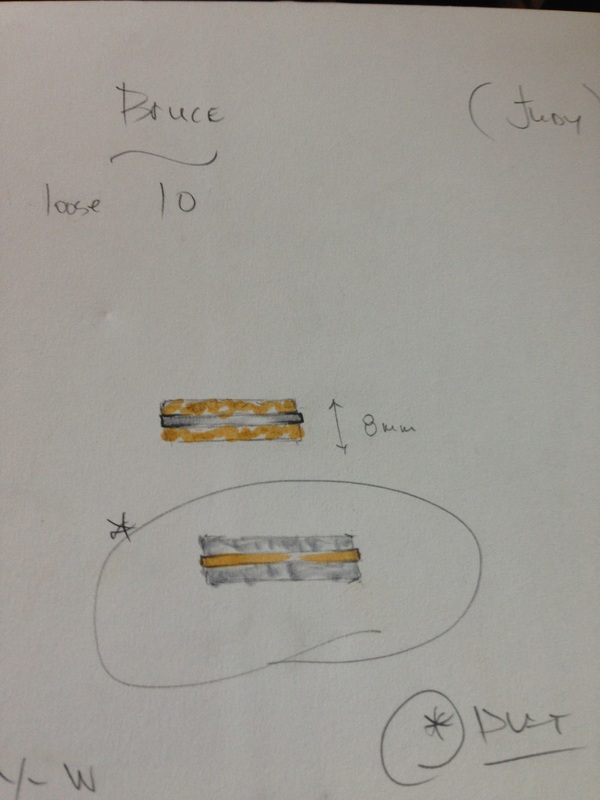
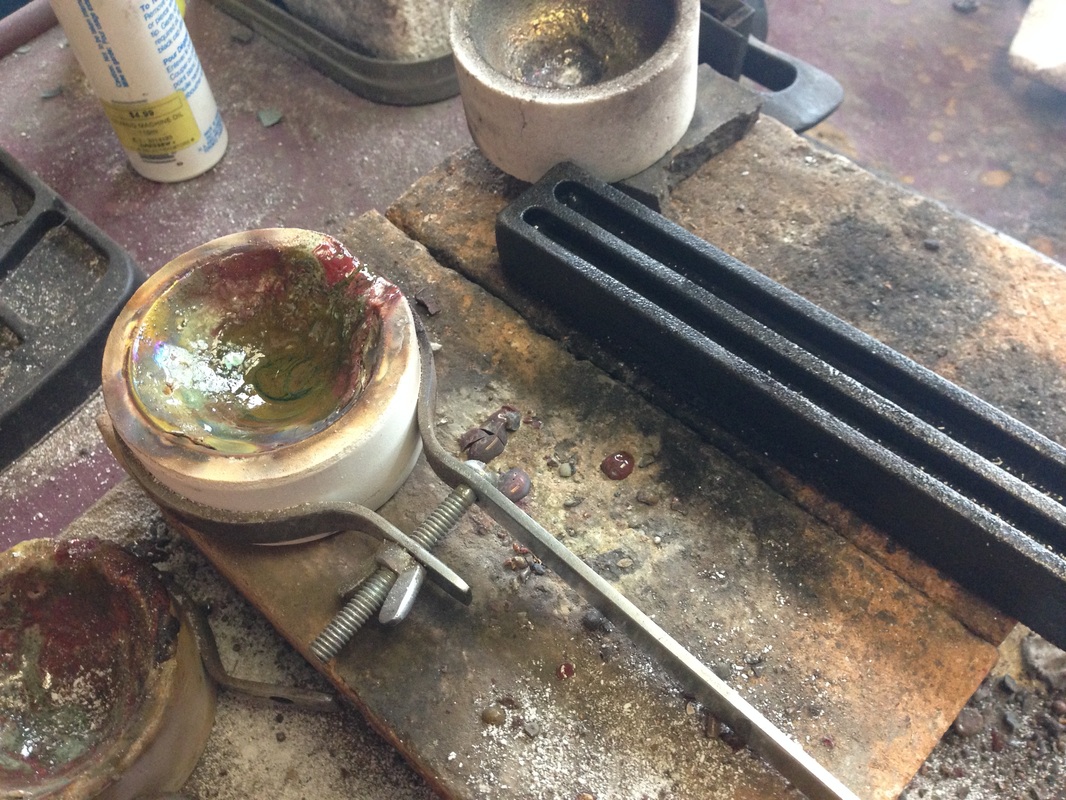
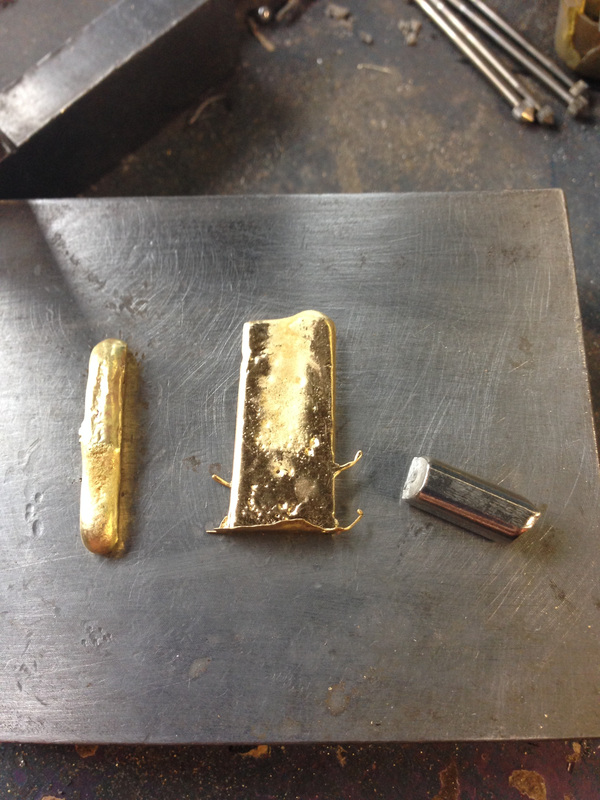
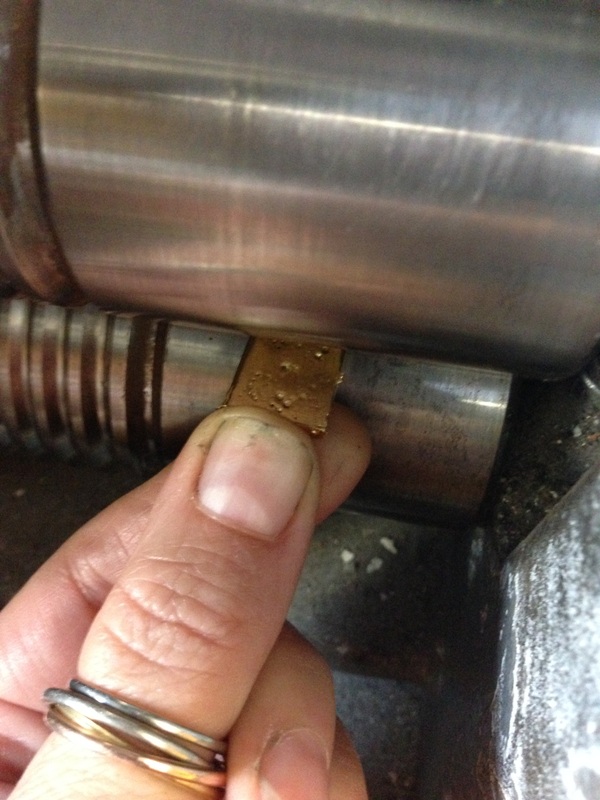
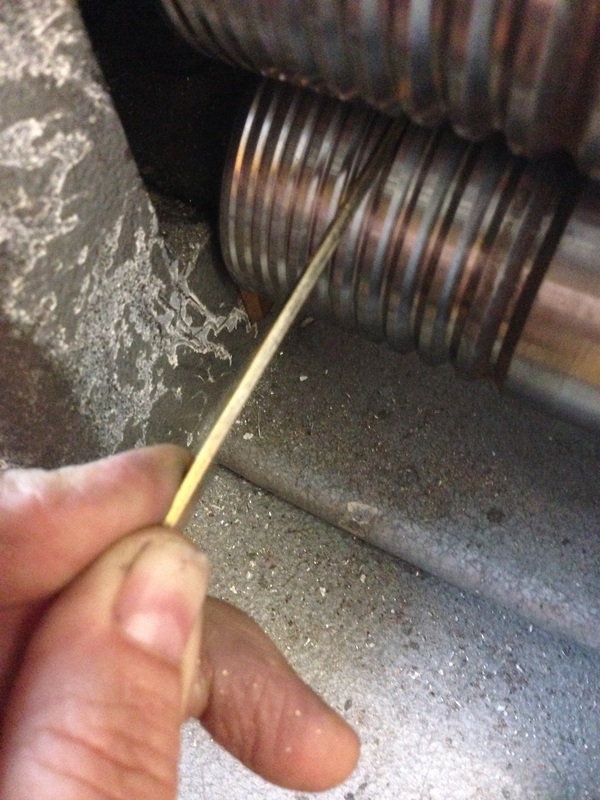
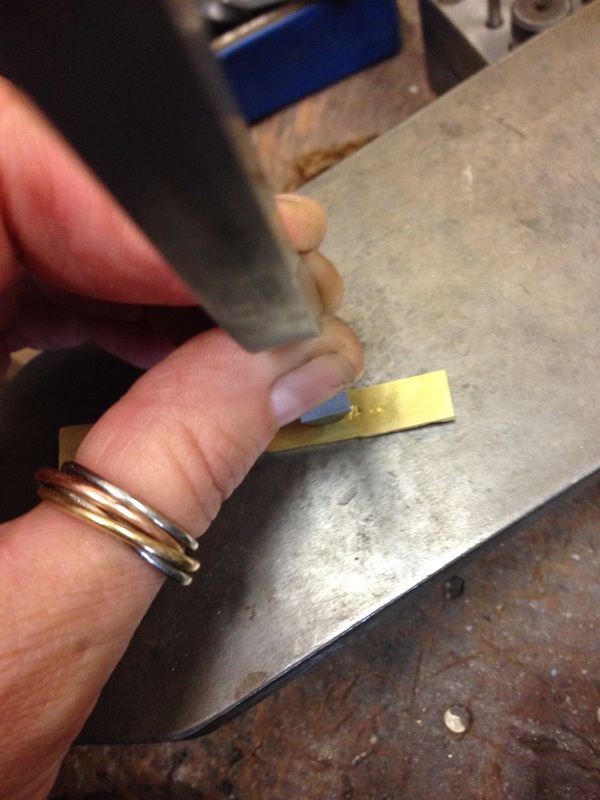
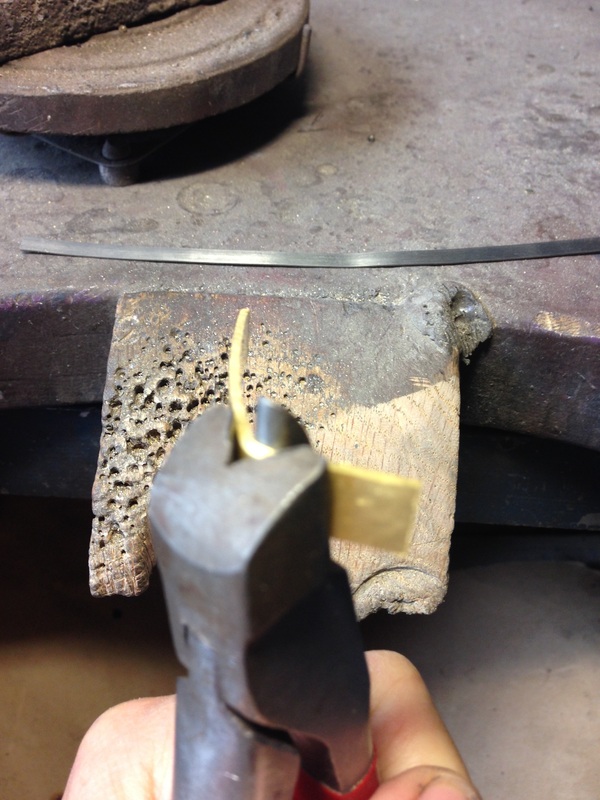
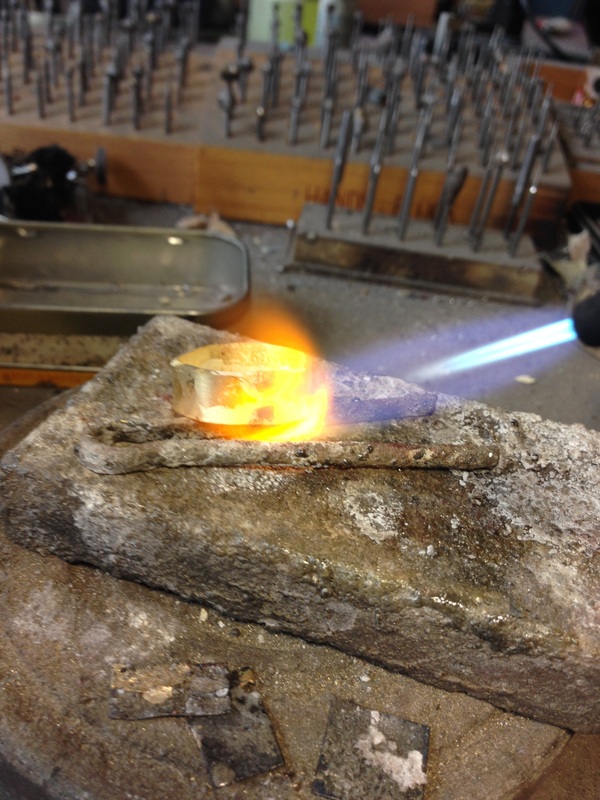
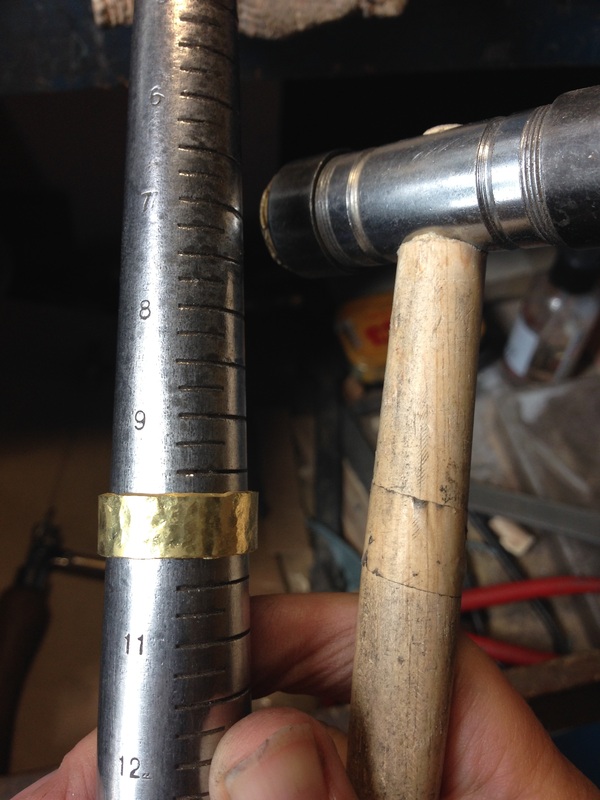
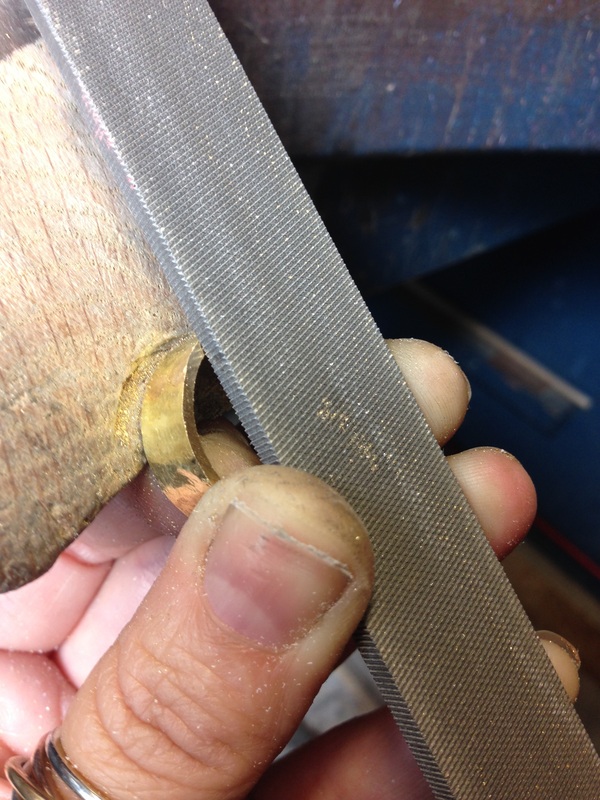
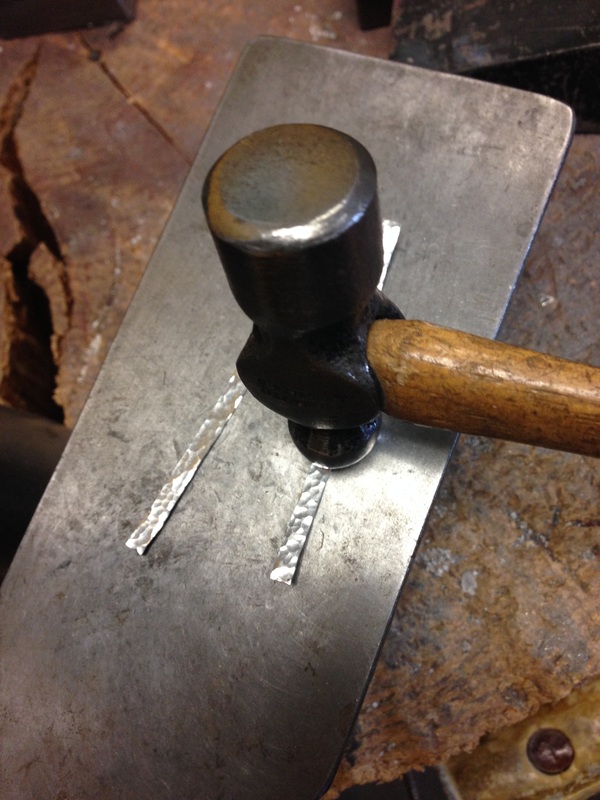
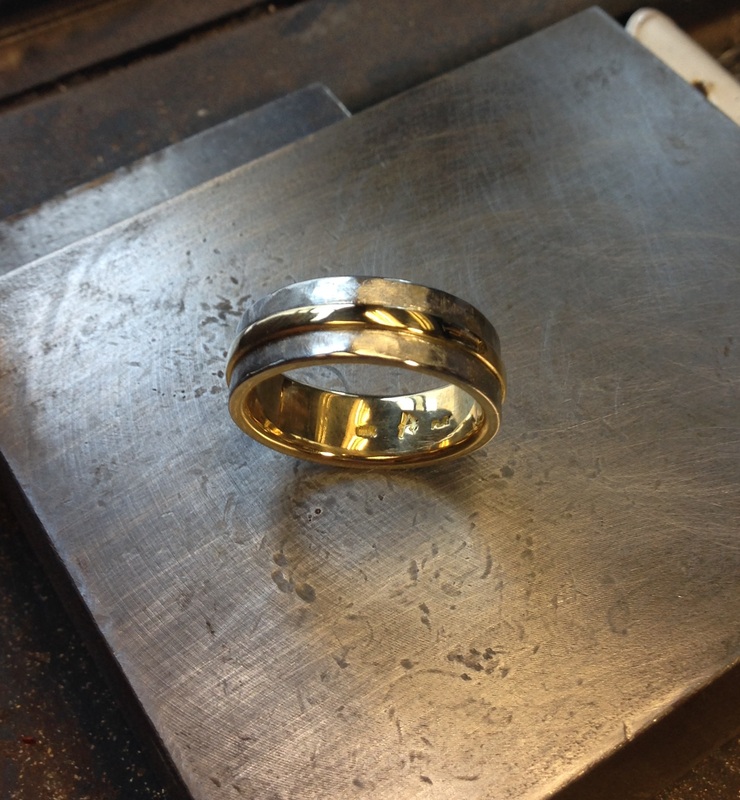
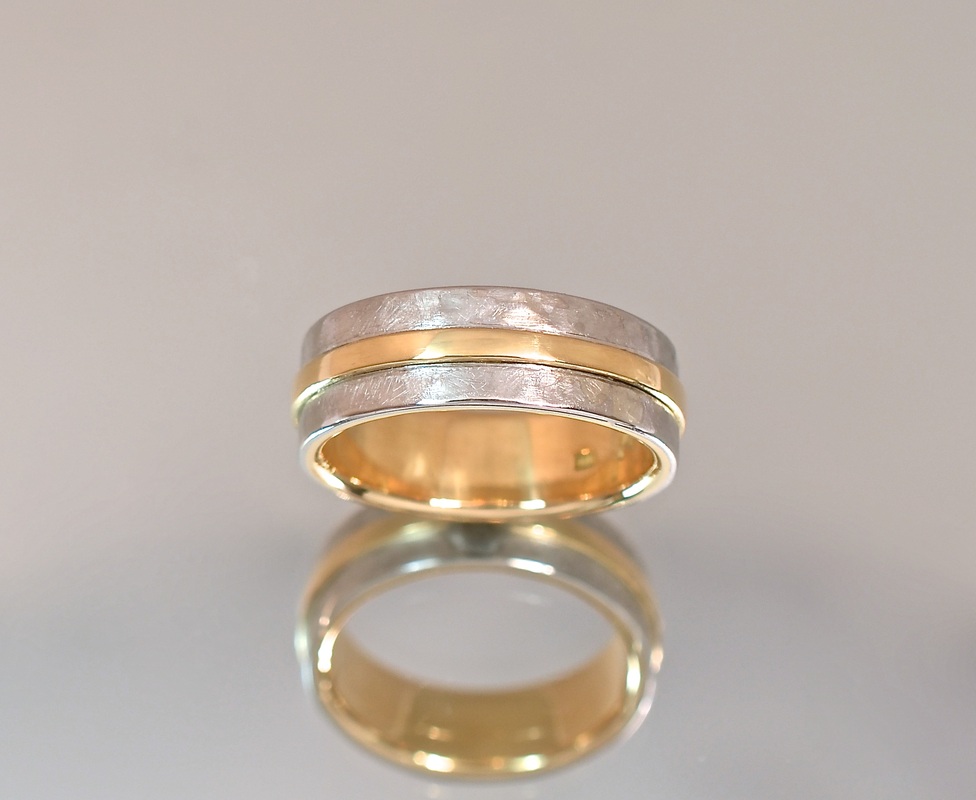
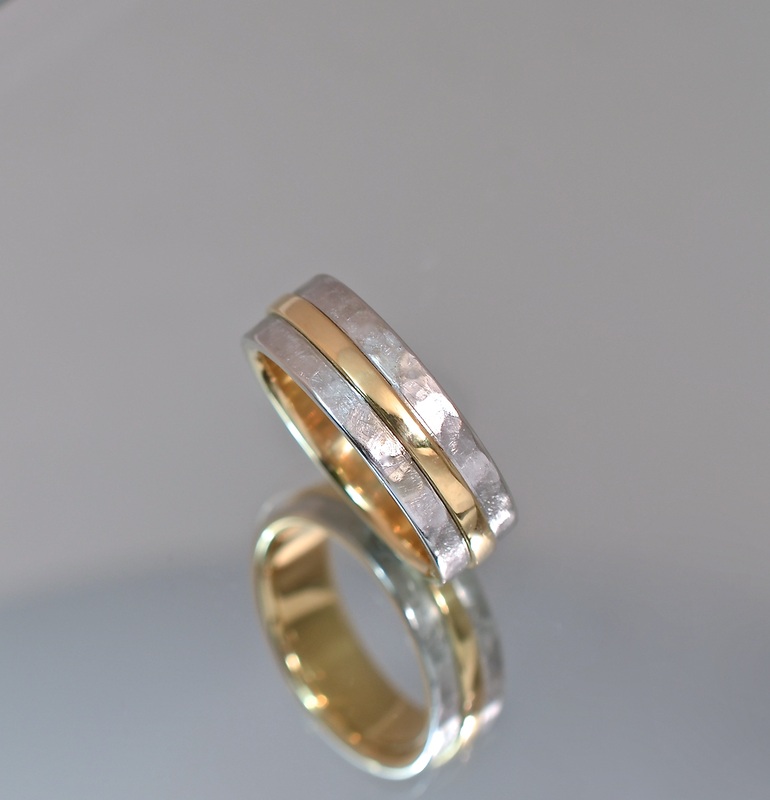
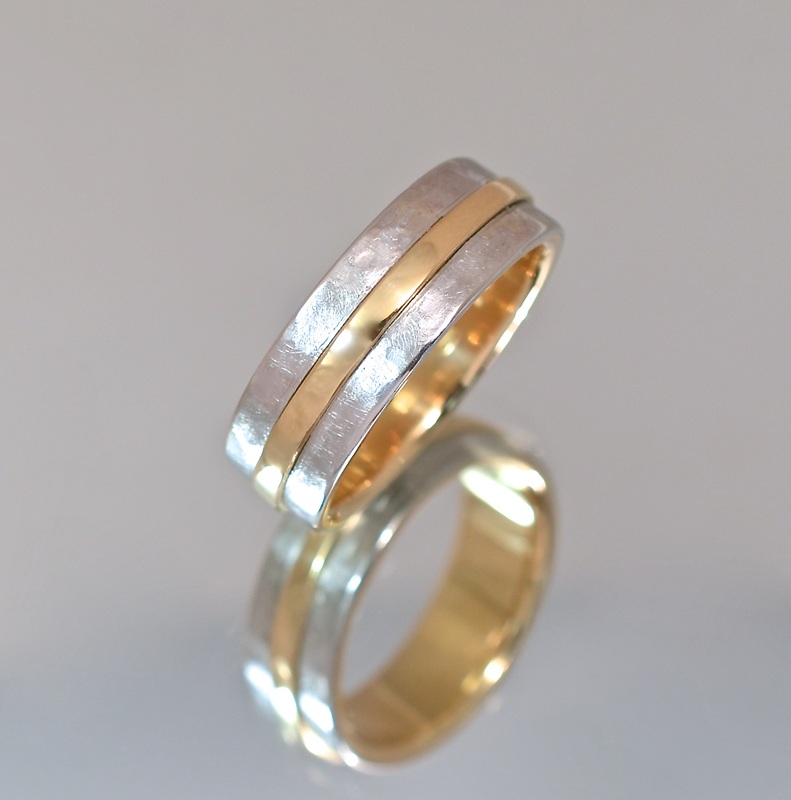
Here are some photos of the ring taken with my digital camera and macro lens. I think it is a very elegant wedding band.
4 Comments
10/21/2022 05:11:21 am
Superb post! I really enjoyed reading it and looking forward to your next post. Thanks for sharing. 11/6/2022 11:13:28 pm
1/28/2023 01:36:42 am
Shop Loose Tanzanite Stones from Chordia Jewels. We offer premium royal blue tanzanites at wholesale rates, where you can see loose gems in various carat weights and shapes. We sell not only in India but also in the USA as well. Our tanzanite gemstones are known for their clarity and fire. Buy Loose Tanzanite Stones from us. Leave a Reply. |
About Hélène:
Hélène is a Vancouver BC designer/goldsmith with a passion for beautiful gemstones and precious metals. She works with the philosophy that objects that are thoughtfully conceived, hand made with technical precision and infused with artistic passion have an energy that cannot be attained with mass produced objects. With this belief, no two pieces are identical and each are unique and one of a kind. Archives
February 2015
Categories |


 RSS Feed

|
Hélène's Studio
By Appointment Only #1007-207 West Hastings Street Vancouver, B.C. V6B 1H7 email: helene@helenebourgetdesigns.com |
Let's Get Social |
All Rights Reserved © 2022 Hélène Bourget Designs l site by EGAMI Creative